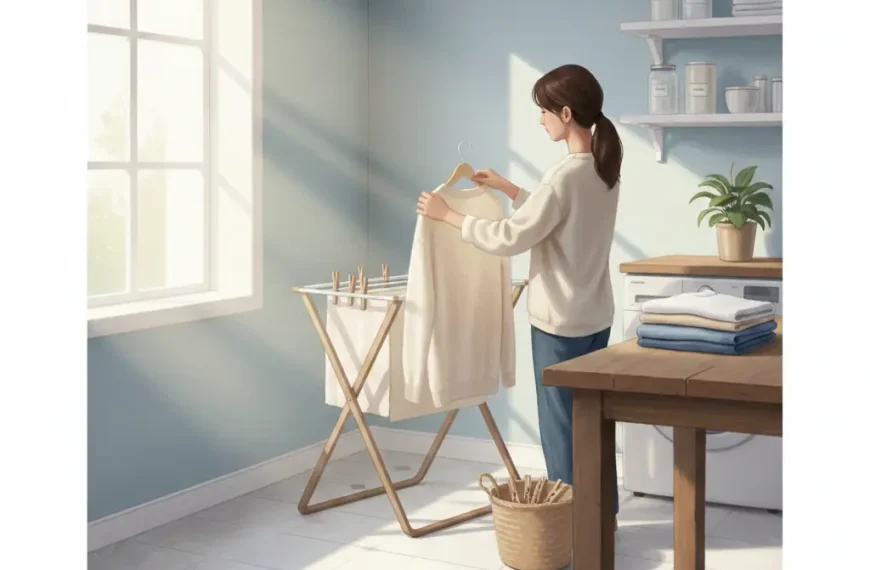
We all have those favorite items: the jeans with the perfect fit, the sweater that’s just the right shade. It’s frustrating when a small snag or a popped seam threatens to take them out of rotation.
However, throwing away clothes because of minor damage is not only wasteful but often unnecessary. Learning a few simple DIY repair techniques can save money and give your garments a renewed life.
This guide will introduce you to basic mending skills, turning those small imperfections into opportunities for creative restoration. You’ll find that repairing your clothes is deeply satisfying.
The Philosophy of Mending: Why Repair Matters
In our fast-paced world, many clothes are designed to be disposable. Mending is a quiet rebellion against this cycle of consumption, shifting your mindset from ‘replace’ to ‘restore.’
Repairing clothes is a cornerstone of sustainable fashion. By extending a garment’s life by just nine months, you can significantly reduce its environmental impact related to waste, water use, and carbon footprint.
Beyond sustainability, there’s a personal connection. Mending transforms a damaged item into one that carries a unique story, often making the piece even more cherished than before.
Essential Tools for Your Repair Kit
You don’t need a fancy sewing machine or specialized equipment to start. A basic, well-stocked kit is all it takes to handle 90% of common clothing mishaps.
Start with a quality pair of sharp scissors, a selection of sewing needles (various sizes), and a thimble for pushing thick needles. A seam ripper is also your best friend for carefully undoing old stitches.
Finally, gather threads in basic colors (black, white, navy, gray) and some contrasting thread for visible mending, along with a few safety pins and chalk for marking fabric.
Repair 1: Dealing with Unraveled Seams
One of the most common issues is a seam that has split, often found in high-stress areas like the crotch of trousers or the underarm of a shirt. This is often the easiest repair to handle.
The solution is the simple backstitch, which mimics the strength of a sewing machine stitch. Start by tying a knot and stitching forward a small distance, then bringing the needle back to where you finished the previous stitch.
This overlapping technique creates a durable, solid line. Be sure to use a matching thread color and sew on the inside of the garment for an invisible finish.
Quick Fix: Hemming a Dropped Edge
If the hem of a skirt or pant leg has come undone, the hand-sewn blind hem stitch is your go-to. This technique creates a nearly invisible seam on the outside of the fabric.
First, press the hem back into place with an iron. Then, using a fine thread that matches the garment, take tiny, shallow stitches through the fabric edge and a few slightly longer stitches through the hem allowance.
The result is a secure hemline where the stitching is barely visible. This small repair instantly restores the garment’s neat look.
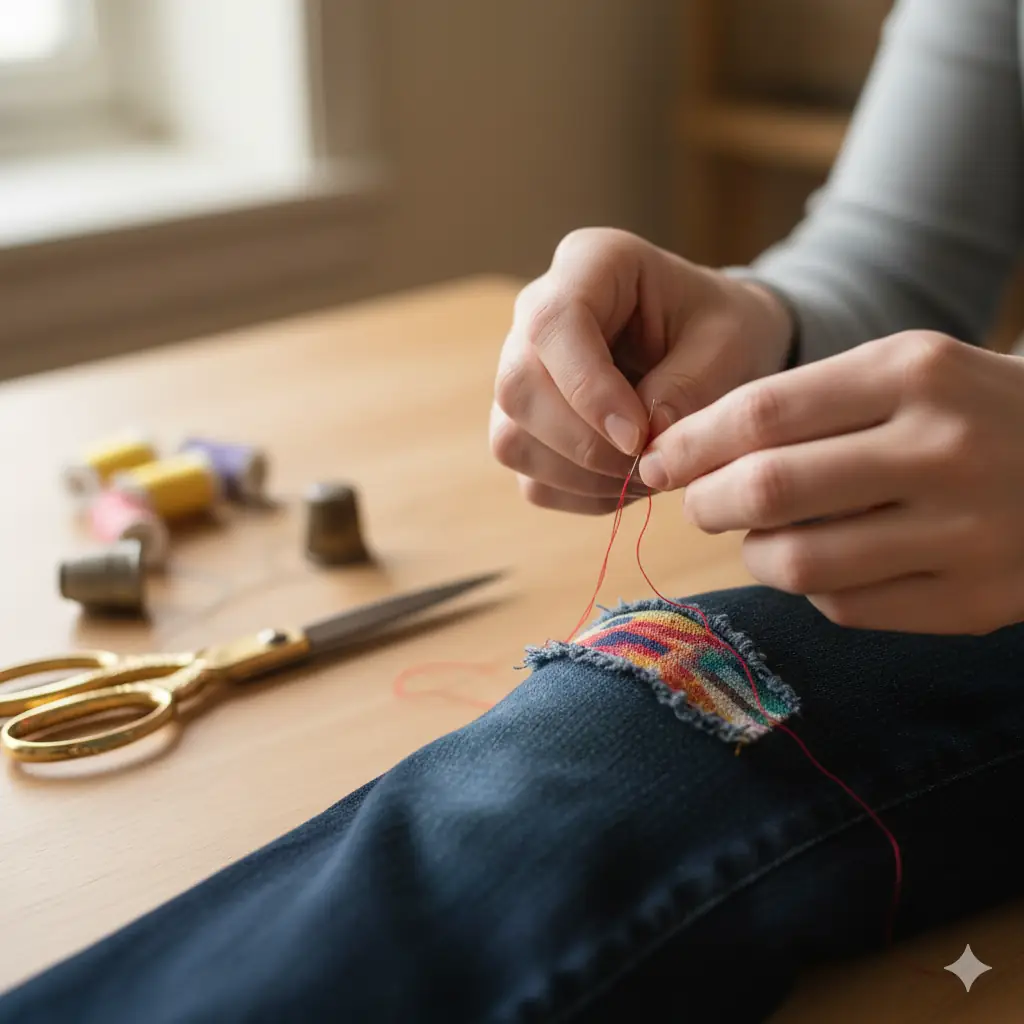
Repair 2: Patching and Covering Holes
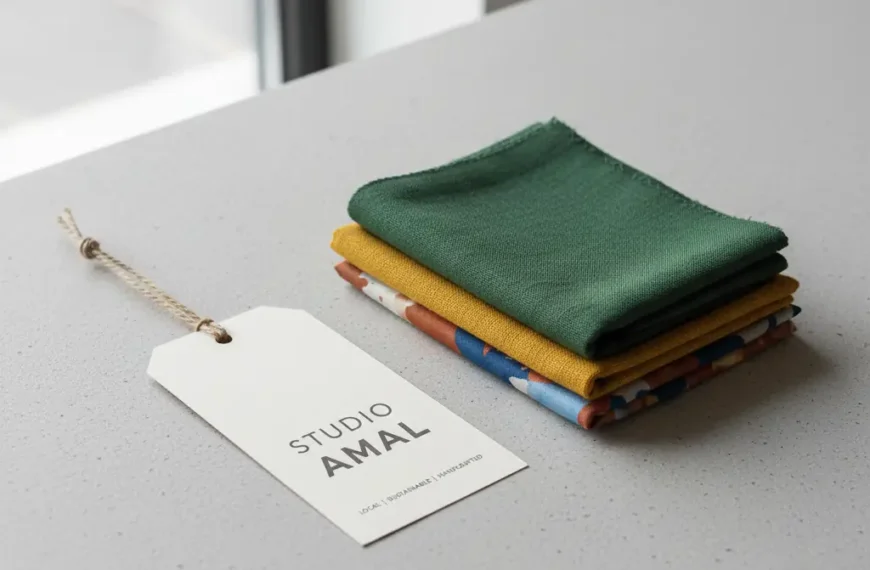
Holes and tears are inevitable, especially in denim or well-loved knitwear. Instead of hiding them, consider using the technique of visible mending to turn the repair into a design feature.
The classic darning stitch is perfect for knit fabrics like socks and sweaters. It involves weaving thread back and forth across the hole, building a sturdy net that closes the gap.
For woven fabrics, like jeans, using a simple patch is ideal. Cut a piece of complementary fabric (denim works great for jeans) slightly larger than the hole, and stitch it over or under the damage using a running stitch.
| Repair Method | Ideal Use Case |
|---|---|
| Backstitch | Split seams, reinforcing stress points |
| Blind Hem Stitch | Dropped trouser or skirt hems |
| Darning | Small holes in socks or knitwear |
| Patching (Running Stitch) | Larger tears or holes in denim/woven fabric |
Visible mending, using brightly colored thread or patterned fabric patches, is a fun way to celebrate the garment’s history. It’s a stylish statement that says, “I choose to mend, not discard.”
Repair 3: Fixing Fasteners and Closures
A missing button or a broken zipper pull often sidelines a garment unnecessarily. These are highly practical and easy repairs that anyone can master quickly.
Sewing on a button is a foundational skill. Use a double length of thread and sew through the holes several times. For added strength, finish by wrapping the thread around the stitches under the button head (creating a thread ‘shank’) before knotting and cutting.
Broken zipper pulls can often be replaced with a simple key ring or a dedicated zipper pull replacement, which is a faster and easier fix than replacing the entire zipper slider assembly.
The Tricky Fix: Replacing a Zipper Slider
If your zipper won’t stay closed, the problem is usually the slider, not the teeth. You can temporarily fix this by using pliers to gently squeeze the top and bottom plates of the slider back together.
If the slider is truly broken, purchasing a replacement slider that matches the zipper gauge and installing it—often by removing and replacing a few teeth at the top of the zipper—is manageable with a little patience and a steady hand.
While this is more advanced, taking the time to fix a crucial closure like a zipper on a favorite jacket is incredibly rewarding and saves you the cost of a tailor.
Practical Tips for Repair Success
Mending is not about perfection; it’s about persistence. Give yourself grace, especially when learning new stitches. Practice on scrap fabric before committing to your favorite clothes.
Always use high-quality thread that is strong enough for the garment material. Using cheap thread on heavy denim will result in the repair failing almost immediately.
Furthermore, address minor damage immediately. A small tear will only become a large, complex hole if left unaddressed. Early intervention saves time and effort in the long run.
Remember: Repairing is a form of textile preservation. Every stitch you put into a garment is a vote for longevity and sustainability, keeping valuable resources out of the landfill.
Moving Forward: Embracing Your Inner Mender
By learning these basic skills, you gain independence from the throwaway culture. Your clothes will last longer, and you’ll develop a unique appreciation for the structure and craftsmanship of garments.
Start with the simplest repairs, like sewing a button, and gradually challenge yourself with patching and darning. It’s a skill that pays off immediately, financially and environmentally.
Take pride in the fact that your clothes show signs of care and use. The stitches you make at home are not signs of wear, but emblems of a mindful, sustainable wardrobe.
 By
By